CCGL: Mac wrapper for Cinder
For discussions and the latest news, check out the dedicated home: [link url="https://smallab.co/cocoacid/mac/"]smallab.co/cocoacid/mac[/link]. This wrapper eases the use of Cinder within a typical Cocoa project. Thus allowing C++/Obj-C creative coders to build MacOS apps bearing several "Cinder sketches" as well as Cocoa sliders, buttons... as further introduced in this article.
On Github
Changelog
Latest changes pushed on nov. 2012
✔︎ BSD License: it is now BSD Licensed, to make things easier if you're willing to make commercial stuff with it ✔︎ Cinder 0.84: support for the latest stable releaseHow-to
Launching an example project
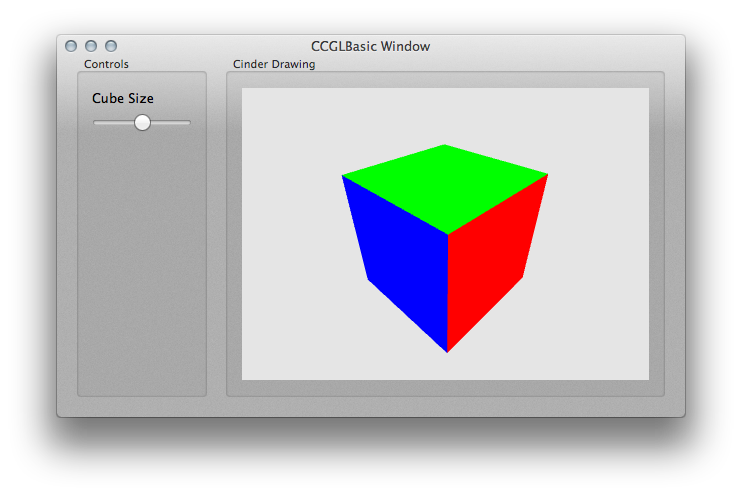
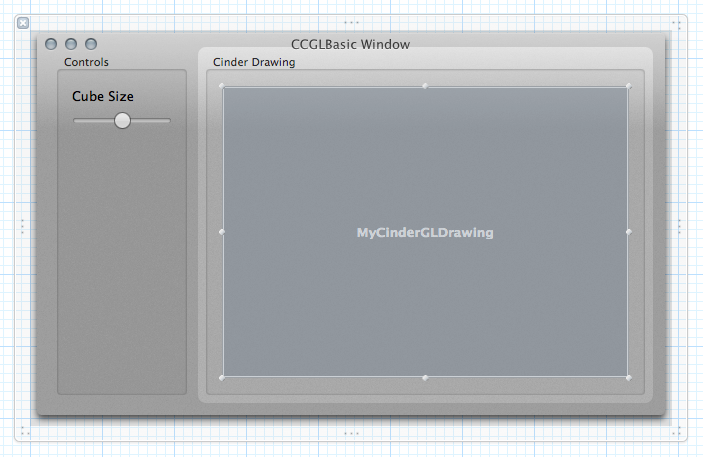
Download the CCGL examples package. Rename the unzipped folder to "CCGL" and place it inside of your Cinder folder, at the same level as the "samples", "blocks", "lib"... Open CCGLBasic.xcodeproj and run it: the project should build and the CCGLBasic Window should appear as pictured above (that's MacOS 10.7, but it's also been successfully tested on 10.8 and on 10.6.8).
If the project build failed, then the linking is probably not right. That's probably because the CCGL folder you've just unzipped & renamed is not placed at the root of your Cinder folder. If you keep experiencing problems with linking, check the User-defined build settings of the project and change the CINDER_PATH value until it all connects properly. Please report any other issue in the comments section below!
Using the templates
These XCode templates provide starting points for "CCGL flavored" applications. The basic template features a MayaCam, a colored cube and a Cocoa slider to control the size of the cube. Download them here.
To install the templates, place their *.xctemplate folders inside of XCode.app's package contents:
/Contents/Developer/Library/Xcode/Templates/Project Templates/Mac/Application, besides "Cocoa Application Base.xctemplate", "Cocoa Application.xctemplate", etc.
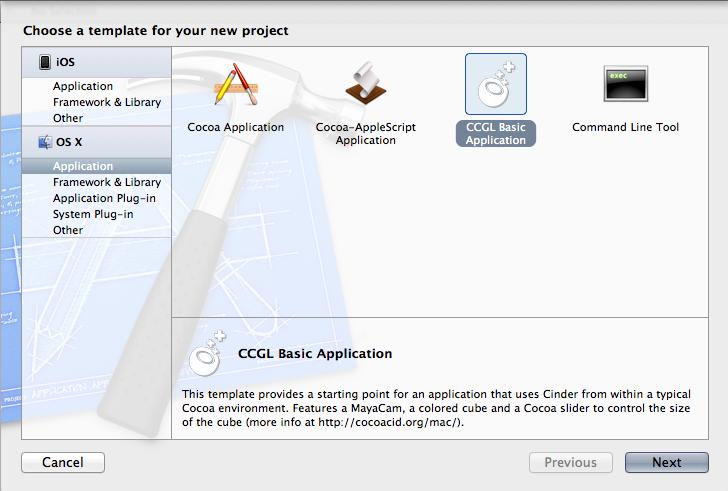
Then launch XCode, create a new project and select the template of your choice from the MacOSX > Application menu displayed in the dialog box.
Make sure to save the project inside of a folder placed at the root of your Cinder folder, besides the "samples", "lib", "boost" folders. Typically a folder named "CCGL" where all the examples sit... If you decide to do otherwise, you'll have to change the User-Defined CINDER_PATH setting of the project's target to comply with the relative location of the project you've just created.
A brief note about which files are there, why they're there, and what you can do with them
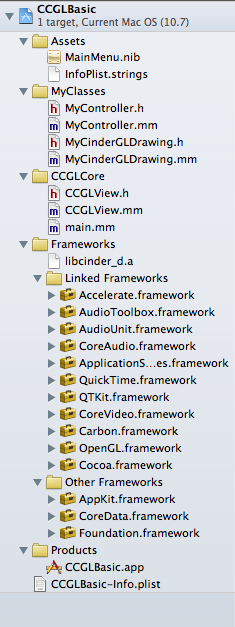
First, unfold all the groups in the project's hierarchy in order to get something similar to the image on the left.
In order to use the Cinder framework within a typical XCode project, it is necessary to go around the application building process that magically happens when rendering a Cinder project. In other words, replace the AppBasic class, from which all Cinder MacOS projects inherit (ie. class MyGreatApp : public AppBasic ...), with a combination of an OpenGL capable view that is added through Interface Builder and that is bound to a class inheriting Cinder capabilities.
The OpenGL capable view that is used here is unfortunately NOT an NSOpenGLView as the name would clearly suggest. Instead, it's an NSCustomView, and you'll find it in the MainMenu.nib file (that's in the "Assets" group) displaying the name of the class that's telling it what to do.
Indeed, this NSCustomView is bound to the MyCinderGLDrawing class, whose .h and .mm files are placed in the "MyClasses" group (Why .mm ? Because it's an Objective-C++ file, that welcomes Obj-C syntax as well as C++ syntax. More on this in the next paragraph.).
The MyCinderGLDrawing class may bear any name you like. That is where you're going to write what's being drawn in the NSCustomView. But it must inherit from the CCGLView class whose .h and .mm you will find under the "CCGLCore" group. Everything in that CCGLCore group should remain intact unless you want to implement new functions, or tweak the defaults... at your convenience.
Finally the MyController class, whose .h and .mm you will find in the MyClasses group, is the place where all the Interface Builder buttons, sliders, etc. that you've added in the MainMenu.nib are being connected to the CCGLView(s) that you're willing to control with them. For clarity, in all the examples provided in the CCGL package, MyController inherits from NSObject (and displays as a blue cube in Interface Builder, where you get to connect IBOutlets and IBActions). It happens sometimes that you'll be better off extending NSWindow. That's obviously possible. Also, as with MyCinderGLDrawing, MyController may bear any name you like. And you may use as many controllers as you care to.
Objective-C++ you said?
That's the "catch" if you want to use Cocoa: you're going to have to write a bit of Objective-C. Your app won't be fully C++ anymore, and as you'll figure out from the examples, the most basic Cinder methods have been re-written and require the typical Obj-C syntax. So instead of your usual declaration:void myFunction(int arg) { ... }
you're going to be using:-(void) myFunction:(int)arg { ... }
And to call that function with:[self myFunction:1];
Pretty straightforward, isn't it ? And of course it does not concern the gl calls, nor the rest of the main libs, but only the stuff that's really specific to Cinder's AppBasic. For example, when you were using the pure Cinder getElapsedSeconds() method which « returns the number of seconds which have elapsed since application launch », in CCGL you'll be using [self getElapsedSeconds]. In context:double phi = sin( [self getElapsedSeconds] );
I tried to carefully name all the functions that I had to port to Obj-C with the same name as their C++ counterparts. Please note that some of the less essential methods are not yet included, as the projects I've worked on up until now weren't requiring them. Also note that some methods such as setFullScreen() have not been ported, since the built-in Cocoa machinery is already very usable (you can check this one out in the MyController class of the CCGLFullScreen example included in the package).
Browse through the CCGLView.h and CCGLView.mm files to see what's there and what's not. Don't hesitate to suggest adding some functionality, or adding the functionality yourself and sharing it!
It is worth noting that the Obj-C + Cocoa combination is very useful to master in many situations. The 2.0 version of the language has garbage collection built in. And iOS uses it too... For more information: visit the MacOS X Dev Library.
What examples are there?
Apart from the CCGLBasic example described up there, 10 other projects are available in the package:
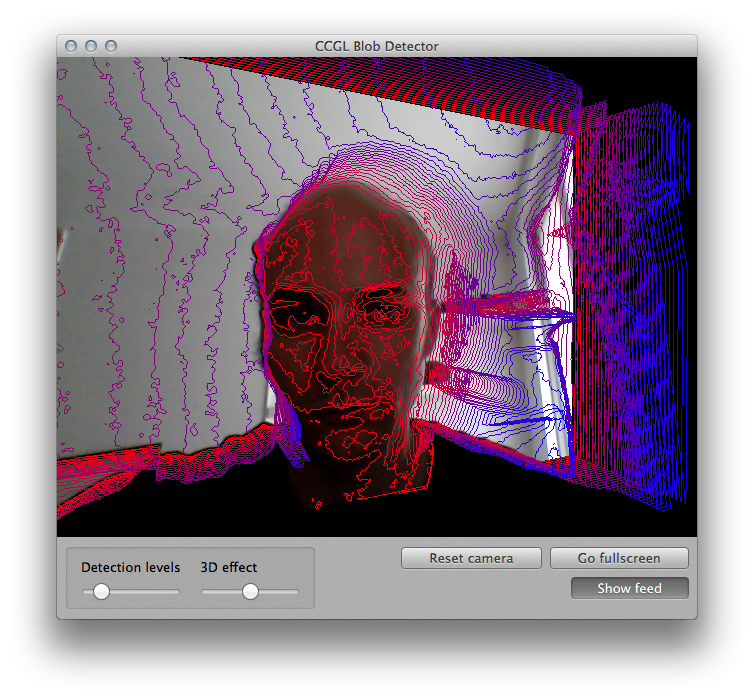
- CCGLBlobDetector is the most complete example application, and it's interesting to check out for its OpenCV block integration.
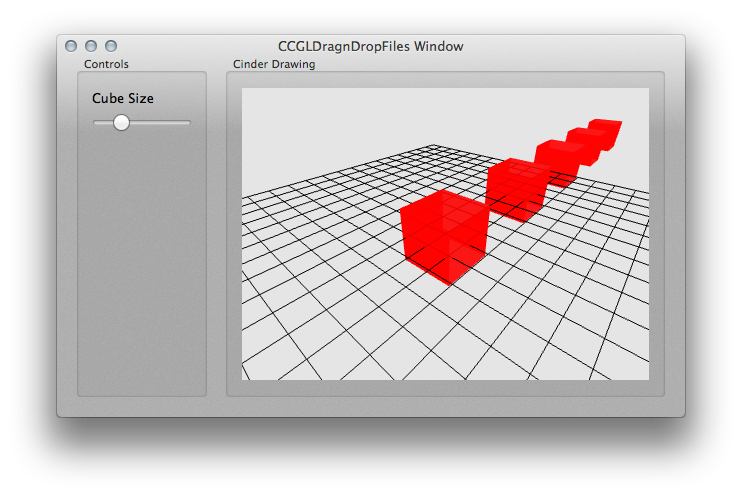
- CCGLDragnDropFiles features the Cocoa brew of the file drag and drop functionality.
- CCGLFullScreen example shows off how to maximize a Cinder drawing to full screen Cocoa-style, and escape it via
-(void) keyDown:(NSEvent *)evt;.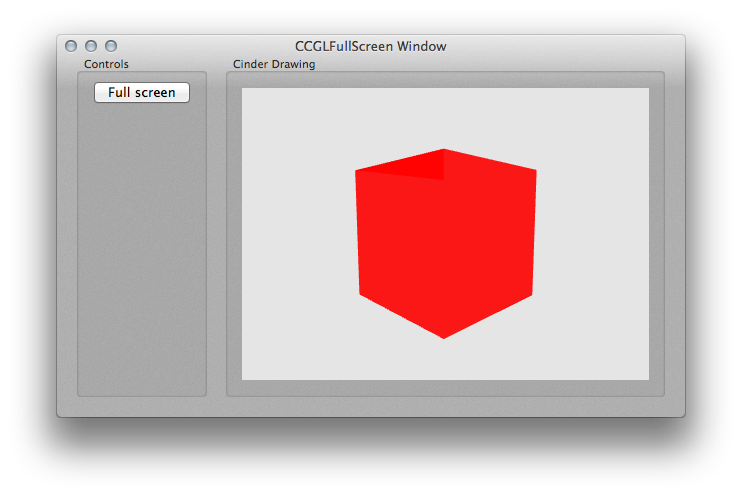
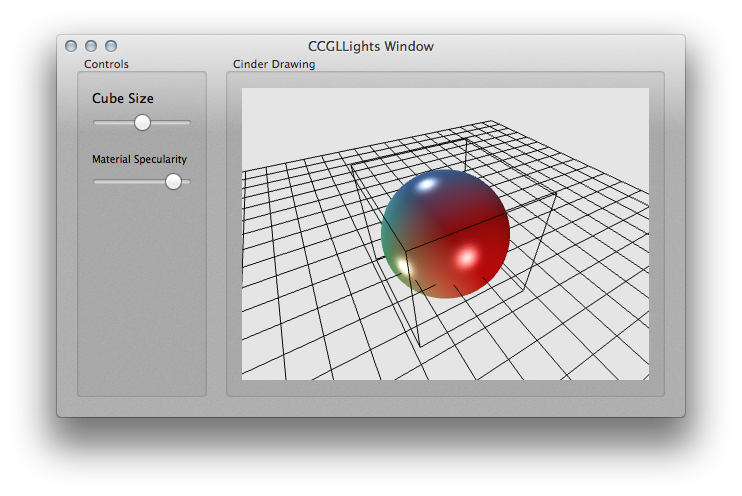
- CCGLLights lets you play with specularity via an NSSlider.
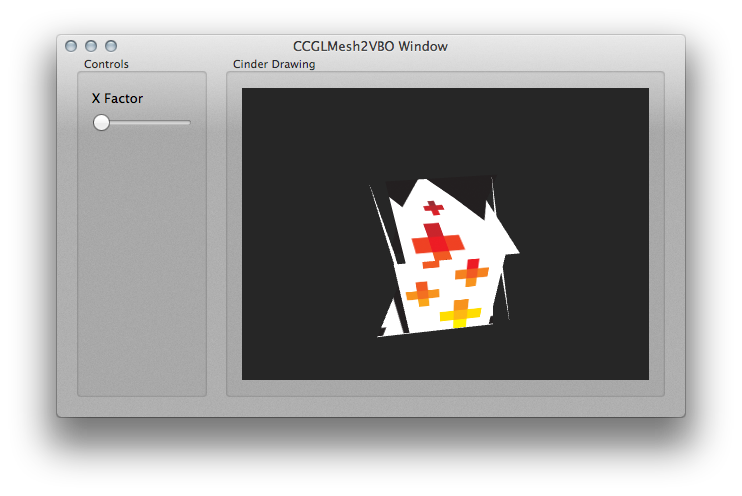
- CCGLMesh2VBO example transforms mesh data into a VBO and plays with it.
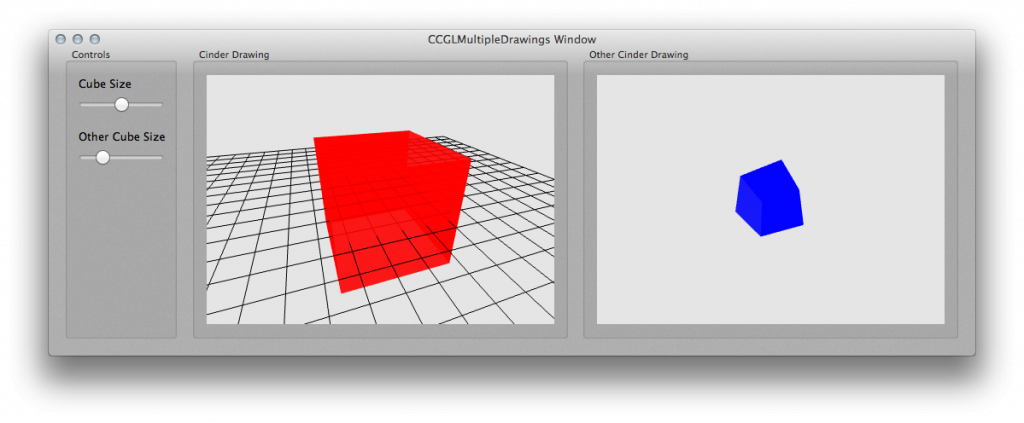
- CCGLMultipleDrawings is a very basic example of how to use 2 independent Cinder sketches within the same NSWindow. That's certainly one of the most relevant features of the CCGL wrapper.
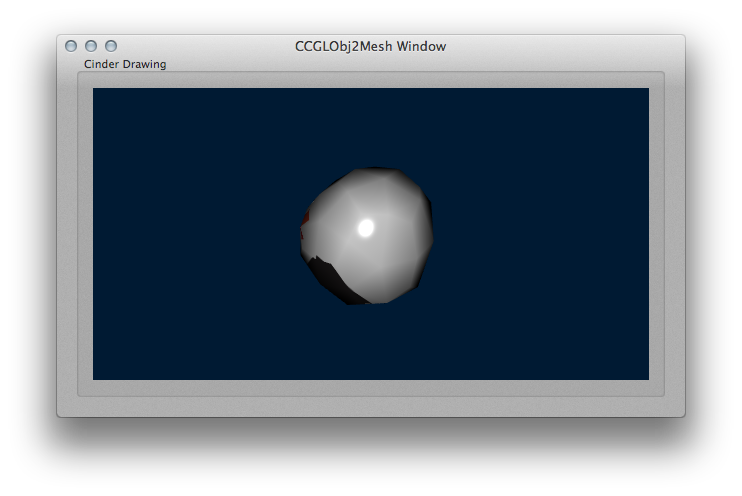
- CCGLOBJ2Mesh makes sure that importing an .OBJ 3d file, translating its data to mesh and throwing shader light on it still works.
- CCGLOSCBlock does what its name says it does, and comes with a Processing sketch to test the OpenSoundControl connection both ways.

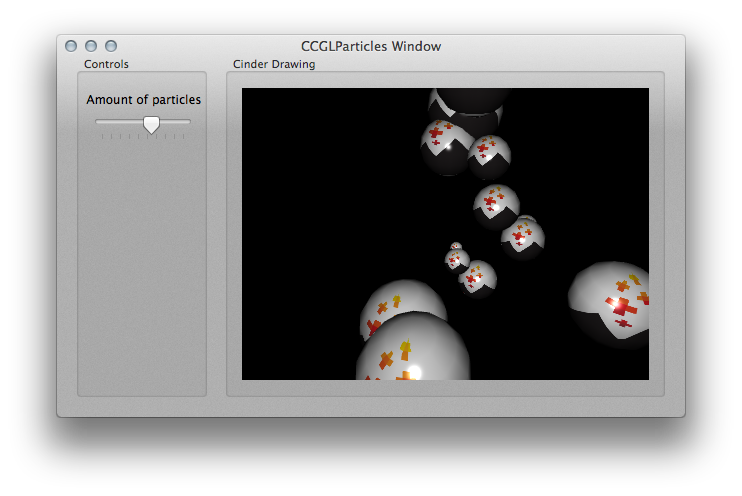
- CCGLParticles shows how to use a ParticleController class and a Particle class in much the same way as explained in Robert Hodgin's "Hello, Cinder" tutorial.
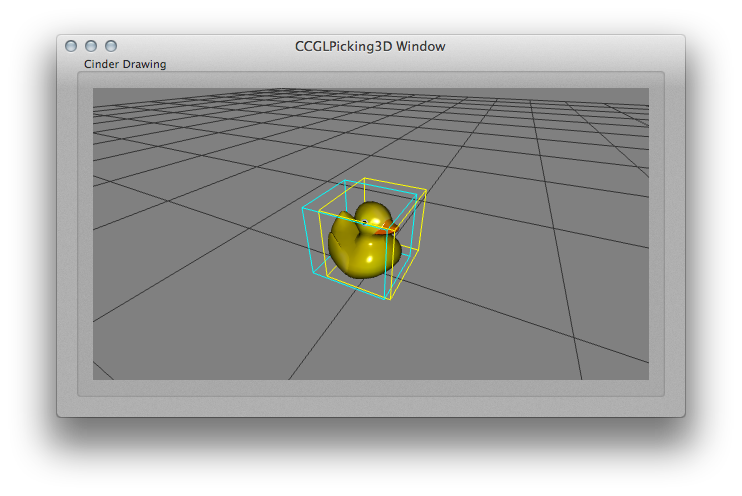
- CCGLPicking3D is a port of Paul Houx's great Picking 3D sample as distributed in the Cinder package version 0.8.3 . A nice place to check out how textures and GLSL shaders work too.
